In this post, we'll install SharePoint Server 2010 Beta. Double click the OfficeServer executable and run it. This will bring up the following screen:
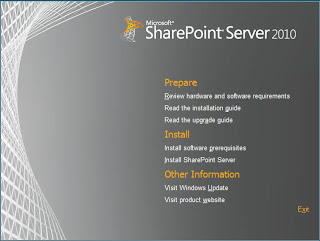
Click on the “Install software prerequisites” to install the prerequisites. As you can see, there is still some more prerequisites that needs to be installed before SharePoint Server 2010 Beta can be installed. The good news is we don't have to worry about installing these prerequisites. The executable automatically downloads the right versions of these prerequisites and installs them:
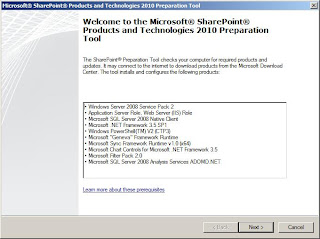
This screens tells you what prerequisites the executable is going to download and install. Click Next:
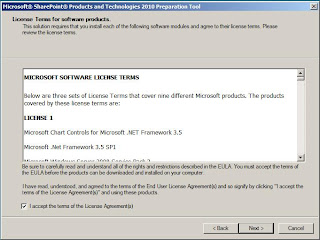
Accept the license terms and click Next:
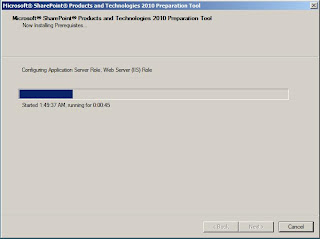
Wait until the installation completes and you get the following screen:
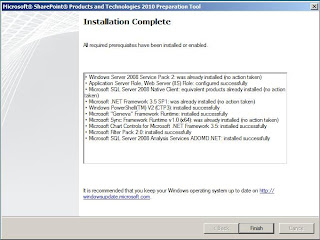
This screen confirms that all prerequisites were successfully downloaded and installed. Click Finish. Next go back to the main screen, i.e.


And click the Install SharePoint Server link to start the installation of SharePoint Server 2010 Beta. This will pop up the following screen:
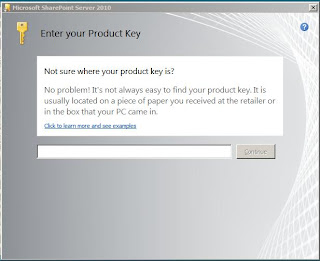
Enter the product key and click Continue:
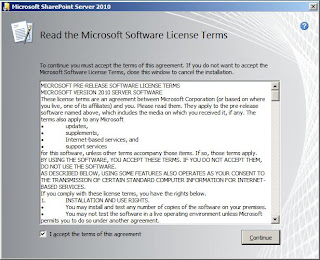
Accept the license terms and click Continue:
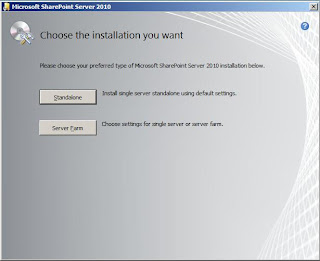
As this screen shows, you have two installation options:
- Stand-alone: This option creates a single server stand alone with default settings.
- Server Farm: This option creates a server farm of single or more servers
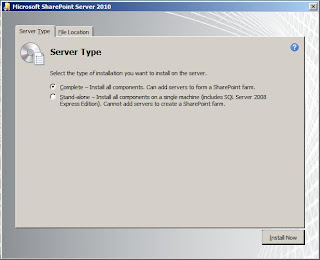
This screen consists of two tabs. In the first tab you have to specify the type of server. The Complete option creates a server farm to which you can add more servers later. The Stand-alone option creates a server farm with a single server only where you cannot add any more servers later. This option also installs and makes use of the SQL Server 2008 Express Edition instead of the SQL Server instance that we installed in previous posts.
It should be clear by now that you should select the Complete option. The second tab allows you to specify the folder on the file system of the server to install the SharePoint 2010 bits.
It should be clear by now that you should select the Complete option. The second tab allows you to specify the folder on the file system of the server to install the SharePoint 2010 bits.
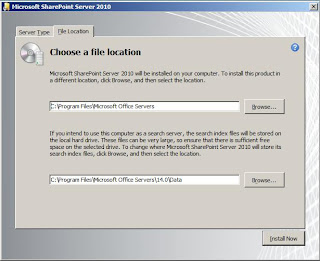
Choose the default folder and click Install Now to install the SharePoint 2010 Beta bits on the specified folder on the file system of the server.
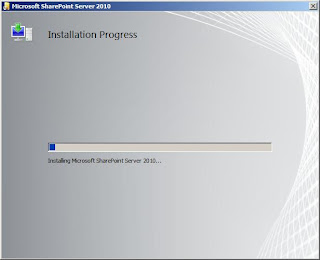
Wait until the installation completes and you get the following screen:
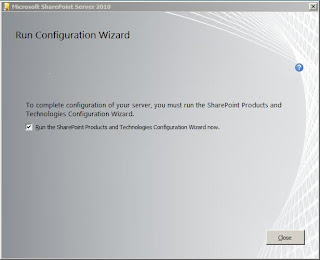
This screen tells you that the SharePoint 2010 bits were successfully installed on the file system of the server and you should run the SharePoint Products and Technologies Configuration Wizard to install SharePoint 2010 Beta. Note that at this the SharePoint 2010 Beta has not been installed yet. Only the bits required to install SharePoint 2010 Beta have been installed. It is the SharePoint Products and Technologies Configuration Wizard that install SharePoint and bring into life.
We'll run this configuration wizard in the next post.
We'll run this configuration wizard in the next post.


thank you so much grt thing ....helped me alot....:)
ReplyDelete10/10......
ReplyDeleteHello, Thanks for the article,
ReplyDeleteI just want to make a point that while installing the pre-requisites for SharePoint 2010 it often fails and tells you about failure to install powershell module.
I did notice that you mention in the article before to first uninstall powershell module from Windows server 2008, which I did.
I believe that sql server 2008 installation also install necessary powershell modules which seem to collide with SharePoint pre-requisites.
Just go back and uninstall it again and then the SharePoint installation goes smooth.
Rahul