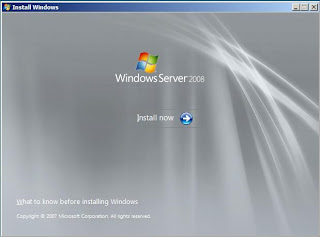
In this post, I'll use screen shots to walk you through the steps for installing Windows Server 2008 (64 bit). I'm assuming you're booting your laptop from an installation DVD. This is the first screen that you see when you start installing Windows Server 2008:

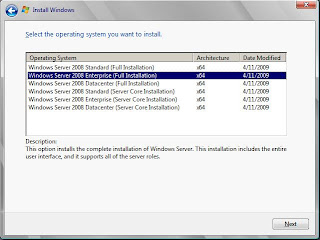
Click "Install now". This takes you to the following screen:

You have several installation option. I chose the Windows Server 2008 Enterprise (Full Installation) option and clicked Next to go to the next screen: Normal 0 false false false EN-US X-NONE X-NONE

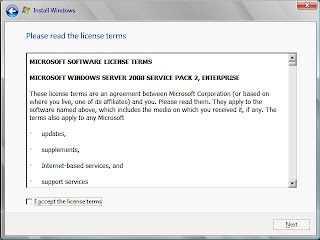
Accept the license terms and click Next to go the next screen:

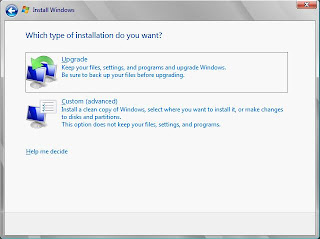
Select Custom (advanced):
When you boot from DVD you will have more options to create and format partitions than what you see in the above screen shot.
You'll see that the display settings are missed up. You will need to go to the Control Panel and from there to "Personalize appearance and sounds". Click on the Display Settings and set the resolution to the highest. This should fix the display problem.
Next, you will need to go the manufacturer site and download the missing drivers. I discussed the driver issues in the first post of these series of posts. I needed to download and install the Network Driver for Wireless.
Even after you install the driver, your wireless is not going to work because the Wireless capability is off by default on Windows Server 2008. You will need to install the required feature as follows.
Select Server Manager from the Start menu to launch the Server Manager:
Scroll down and select the Wireless LAN Service option. In your case this option is not grayed out and is available because you haven't installed it yet. Click Next and follow the instructions to install the Wireless LAN Service.
If your wireless still is not working make sure the wireless is on your laptop. You can also uninstall and install the driver one more time. That sometimes helps.
In the next post, I'll use screen shots to walk you through the steps for installing the required KB971831 hotfix and for removing PowerShell feature. Why do you need to remove this feature? More on that in the next post.


No comments:
Post a Comment