In the previous post, we installed KB971831. In this post, we'll remove the Windows PowerShell feature. Windows Server 2008 automatically installs this feature by default. When you try to install SharePoint 2010 Beta, it tries to install Windows PowerShell feature as part of the installation of prerequisites. However, because this feature is already installed on Windows Server 2008, the installation errors out. To avoid this problem, you'll need to uninstall this feature before you attempt to install SharePoint. This is exactly what we're going to do in this post.
Select Server Manager from the Start menu to launch Server Manager:

Click the Features node in the left pane to view the list of installed features. You should see the Windows PowerShell feature at the bottom of this list. Our goal is to remove it. Click the Remove Features link to navigate to the following screen:
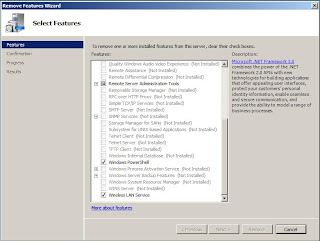

Scroll down the list in the middle pane and locate the Windows PowerShell feature. Note that this feature is checked. Clear the selection:
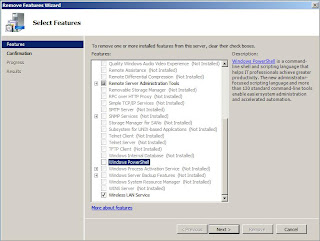

This activates the Next button. Make sure you do not clear any other selections in the middle pane because anything you clear will be removed. Click Next:
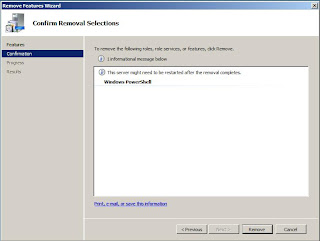

This screen allows you to confirm that you haven't accidentally cleared any other selections. Confirm that you're only removing the Windows PowerShell feature and click Remove and wait until you get the following screen confirming that the feature was indeed removed:
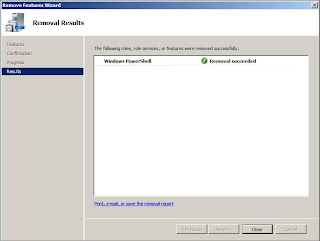

Click Close. You're now done with removing the Windows PowerShell feature.
Keep in mind that if for whatever reason you forget to remove this feature before you attempt to install SharePoint 2010 Beta, nothing bad is going to happen. You can always go back and follow the above steps to remove this feature and rerun the SharePoint installation.
In the next post, we're going to install and configure Active Directory.


No comments:
Post a Comment